Tips How to Easily Fix Concrete Cracks in 2022
Concrete usually starts cracking and crumbling after a while. For this reason, regular maintenance is important if you want to keep its integrity and safety. Here is a DIY guide on how to repair big cracks in concrete. All you need are some tools, the right materials, and enough time to spare. Let’s get started!
Table of Contents
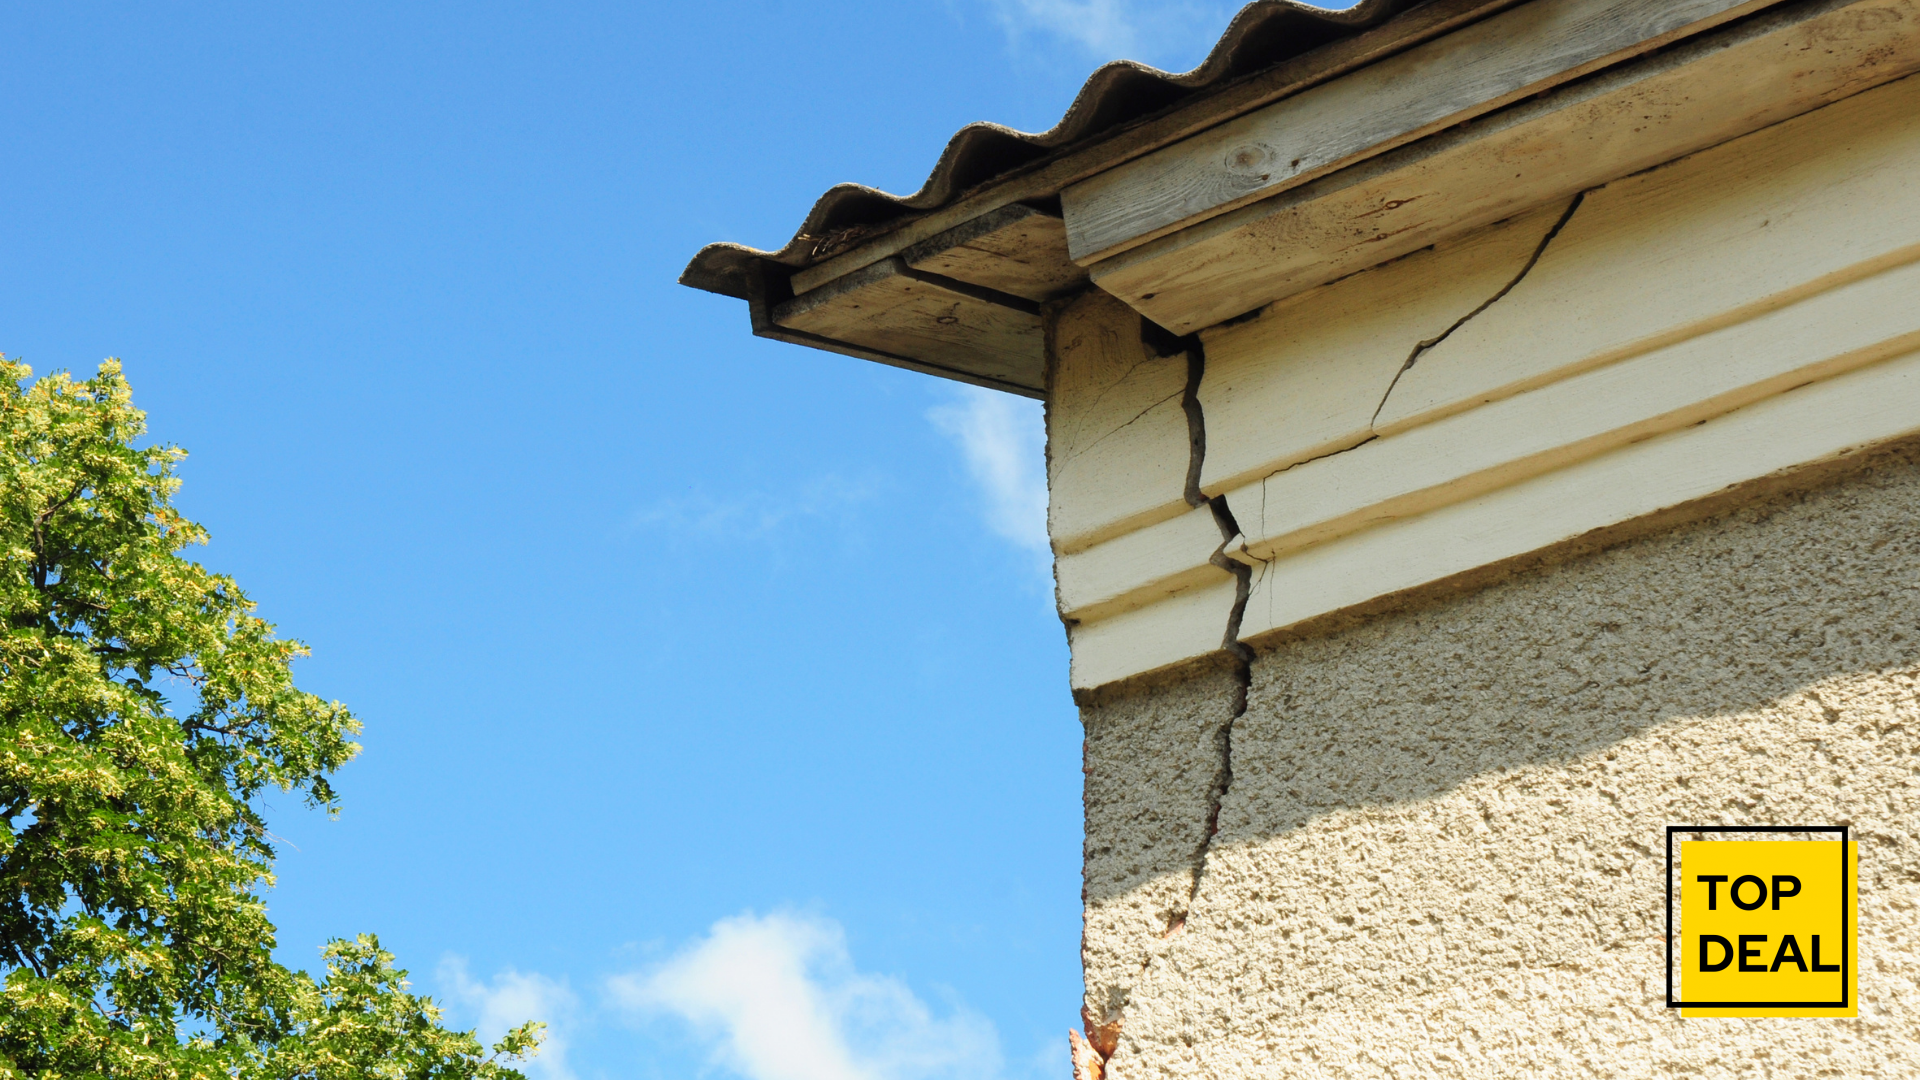
What Causes Cracks In Concrete?
There are a number of reasons why cracks in concrete will develop over time. Some of the most common causes include:
- Underground water that seeps into and saturates the ground, pushing up and weakening the foundation (this is often called ‘heaving’)
- Tree roots can grow underneath your foundation, cracking it as they expand.
- Heavy traffic such as trucks driving through your property over time.
- Poor drainage around your foundation can lead to flooding or wet soils which also result in cracks by pushing up against the foundation (a process called ‘heaving’).
- Extreme weather conditions such as earthquakes or strong winds cause movement in the soil under your concrete.
- Settling or shifting foundations due to invisible problems like poor drainage or shifting soil.
Sometimes cracks can also appear due to the strain of heavy items being placed over these surfaces. For example, if you have concrete floors that are covered with heavy furniture and appliances, the surface might crack after a while. Another instance would be placing luggage, luggage carts, or outdoor accessories on your concrete patio or driveway. Any unnecessary weight will eventually push up against your foundation walls which can lead to cracking as well.
You don’t have to wait for too long before taking action however because most small-scale cracks can be repaired quickly by following this DIY guide!
Repairing Large Cracks In Concrete
The above-mentioned causes of cracking all result in different kinds of problems which require specific approaches towards repairing them If you have a small crack, here’s how to repair them:
The first step is to clean the crack.
You can do this by using a wire brush or scraper and removing all dirt, algae, and other elements that may have accumulated on the surface of your concrete foundation. This will help the concrete filler you’re going to use later on adhere better to your concrete surfaces. Use a chisel and hammer for stubborn stains or debris that refuse to be removed easily.
Note that if there are loose fragments of gravel inside the crack, it would be best to remove these as well since they could get in the way when patching up your foundation with new concrete fillers. In case of larger cracks, however, more extensive repairs are required which means it is time to call for professional help.
Tips For Repairing Bigger Cracks
If you have a bigger problem involving either cracks or holes, here’s what you can do:
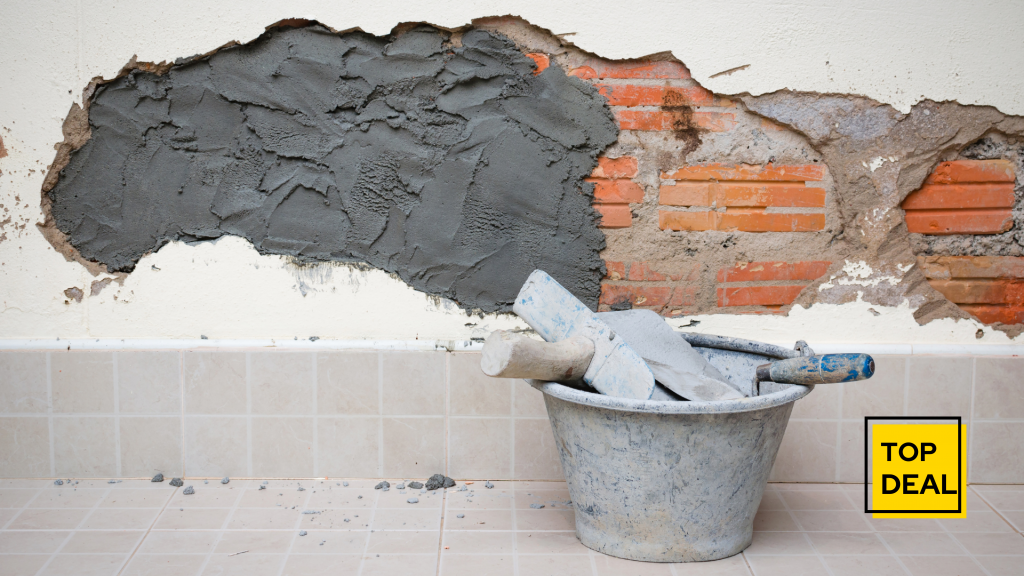
First of all, it is best to measure the actual size and depth of the crack. This will determine if your crack is smaller than 2 inches wide or deeper than 1/4 inch deep. If that is the case then this DIY guide on how to deal with large concrete cracks will be more helpful. In order to fill up larger holes in your concrete foundation, there are two main kinds of materials that you can use:
Fibered concrete patching material – this type of filler has been formulated from Portland cement which means it hardens together as well as bonds strongly with other patches once cured. It also has fiberglass strands that are intertwined with the cement which will serve as reinforcement.
If you have a large crack or hole that is more than 2 inches wide, then this type of concrete patching material would be your best option since they are easy to apply and most importantly they do not shrink when hardening.
Cement-based mortar mix – if you have a wider but shallower crack, then this filler could work well for your foundation. It is mixed with water so it is easy to use by applying even layers on the bottom section of your crack. Use an oscillating tool with a masonry blade in order to feather out the edges of your repaired area once done.
This ensures that there won’t any rough patches around your foundation if your concrete filler doesn’t dry evenly. If you want to be extra careful in applying this kind of concrete filler then it is best not to use any other type of adhesive for bonding the patch onto your foundation because that can lead to more complications when trying to remove or replace it in the future.
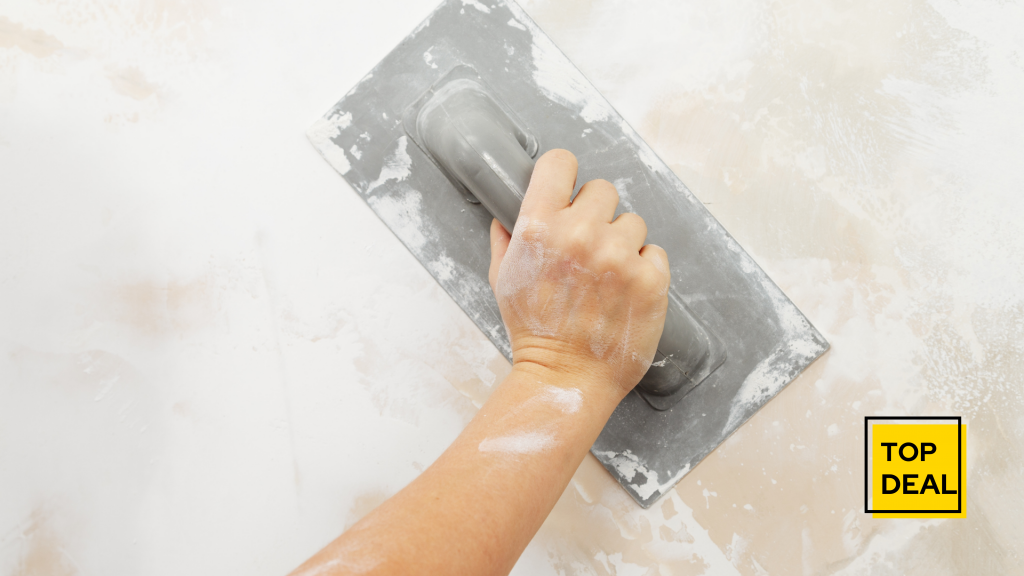
Steps For Applying The Concrete Filler
After choosing which concrete filler will work best for your particular problem, here are some do’s and don’ts in order to make sure you’ll get the most out of your DIY project:
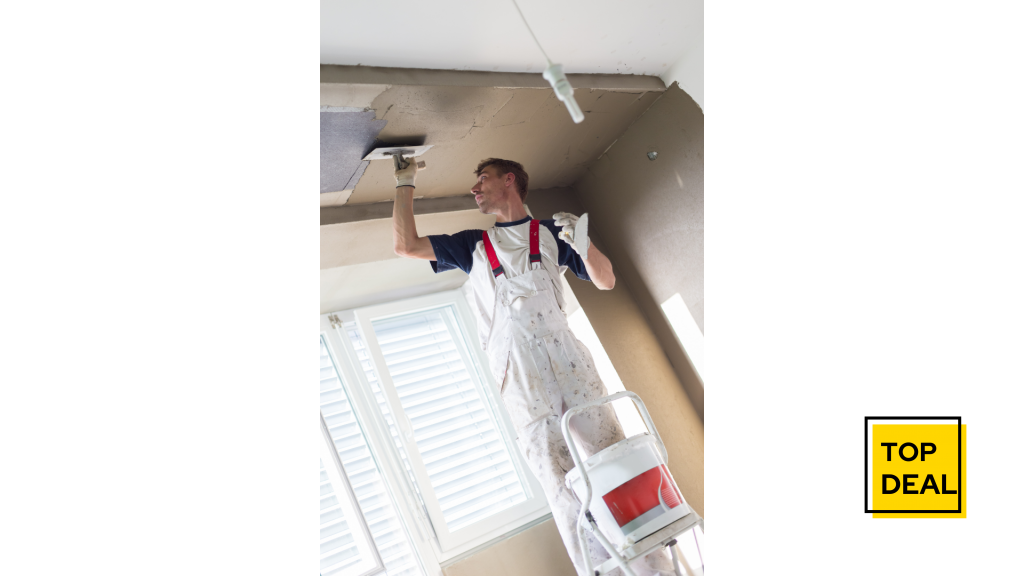
Do yourself a favor by wearing protective gear when working on walling projects! This includes gloves, safety glasses, and steel-toed boots especially if you’re dealing with larger cracks since they involve cement-based mortar mix. This is to avoid any accidents that can happen while handling these materials. Use a caulk gun in applying the concrete filler for larger holes or cracks since it would be easier to distribute material evenly.
Do not apply your DIY concrete crack filler after rain because water will affect its curing process leading to shrinkage and cracking which could result in more problems later on! Do not use an air compressor if you don’t have to since that may cause excess vibration using crack-filling products.
Make sure that excess water is removed from the surface before putting down your patching material because this will help ensure that everything dries quickly without being affected by humidity.
Do not walk on the area immediately after applying your DIY concrete crack if
you’re using fibered concrete patching material. This is because the fibers are still curing and could be very weak at that time which might cause your repair to crack or break off prematurely. Make sure you wait for at least 24 hours before walking on it again.