
How To Install New Speakers Into Your Car in 7 Steps
Getting new speakers for your car can bring new life to your 4-wheeled friend. It can bring new enjoyment to the parts of your car that you hear.
So let’s take a look at what I did when I got myself some sweet, sweet new speakers for my ride.
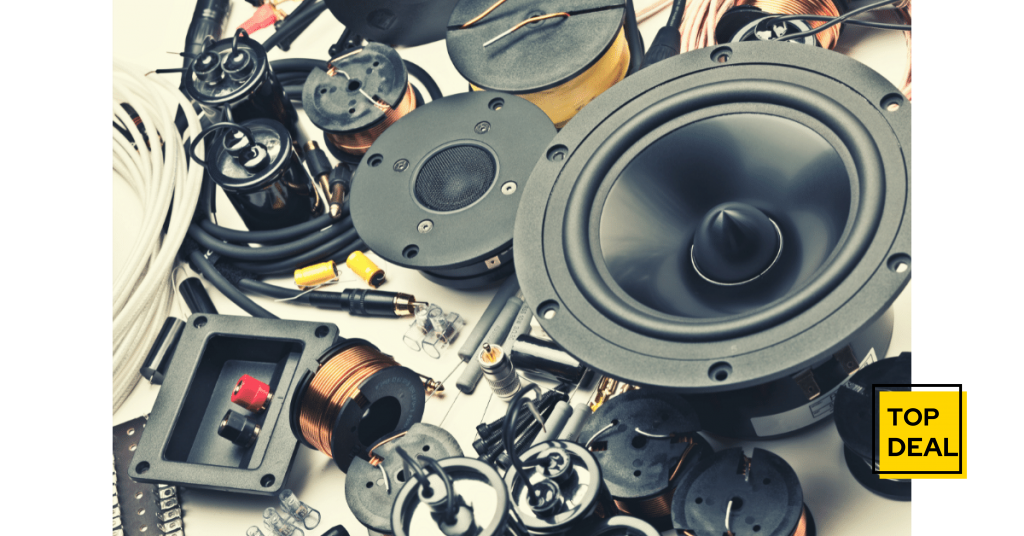
What You’ll Need:
- New Speakers
- Ratchet Set
- Speaker Wire
- Screwdriver Set
- Wire Cutter/Stripper Combo Tool (optional)
Table of Contents
Step 1: Door Panel Removal
Let’s say that we want to install a set of component speakers in the driver’s side door so we can see what kind of space is available. Start by removing the plastic trim panel at the bottom of the door by prying up one corner with a flat head screwdriver and continuing around the edge until it pops off, then remove any screws that hold it in place (depends on and model). The top edge of the panel is held in place by plastic tabs that run around the door; hopefully, no screws are holding these on. The metal pin stripping can then be removed with a pair of pliers – just pull it off at an angle.
Step 2: Prepare your Wire
Now we strip the wires, usually using one of those nifty wire strippers or cutters you can buy at any hardware store for $3-5. You need to expose about 5 cm (2″) of wire so that you have enough room to work with later.
Step 3: Remove Speaker Grills and Crossover Plastic Pieces
If you want, you can yank out all this stuff out now – I don’t bother because it’s way easier not to. I usually just pull it out of the way; if your speakers are already in, you might not be able to do this step yet.
If you can’t reach them because they’re mounted somewhere else, like above the door panel. It works for either component or coaxial (regular) speakers.
You should now have a shot at where your wire will be going through – there should be a gap between the first and second metal pieces pictured below so that the speaker wire won’t get hung up as you move back and forth from front to back, allowing more freedom for movement with your wires.
Step 4: Run Your Wire!
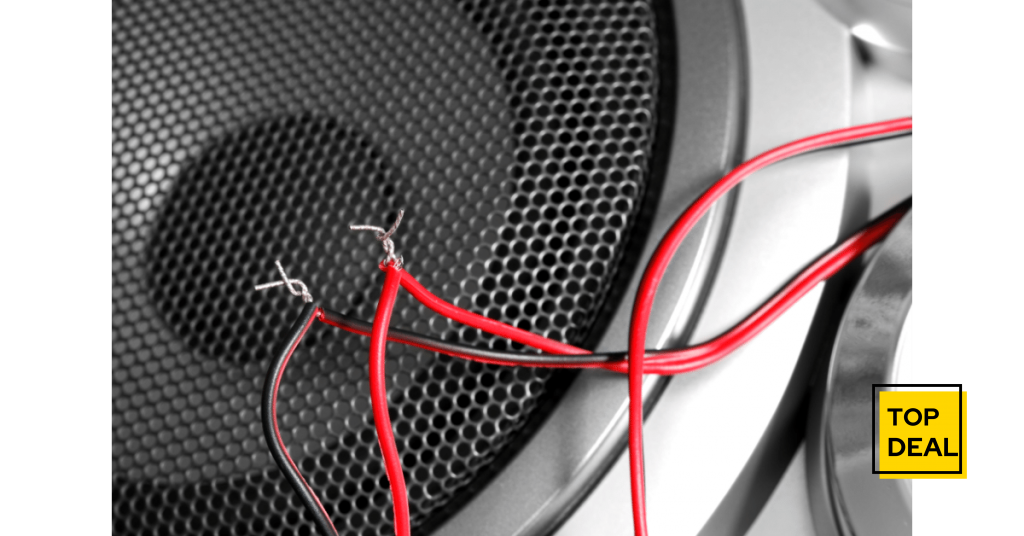
Now figure out how long your new speaker wire is and connect the ends to your car stereo. If you want, you can cut out smaller lengths of wire (I use 8″-12″ personally) and then solder them together with a 30W soldering iron; it’s not necessary but will make sure that your connection lasts longer.
Solder the speaker wire onto the main wire using a pair of pliers – grasp both wires on either side of where they’re touching each other, heating the solder on one of them until it melts and covers both wires in metallic goodness! This does mean that if you ever need to unplug again, don’t yank it by pulling on any one of these wires!
Now wrap electrical tape around all exposed portions of bare metal nearby so that they don’t short out on anything accidentally.
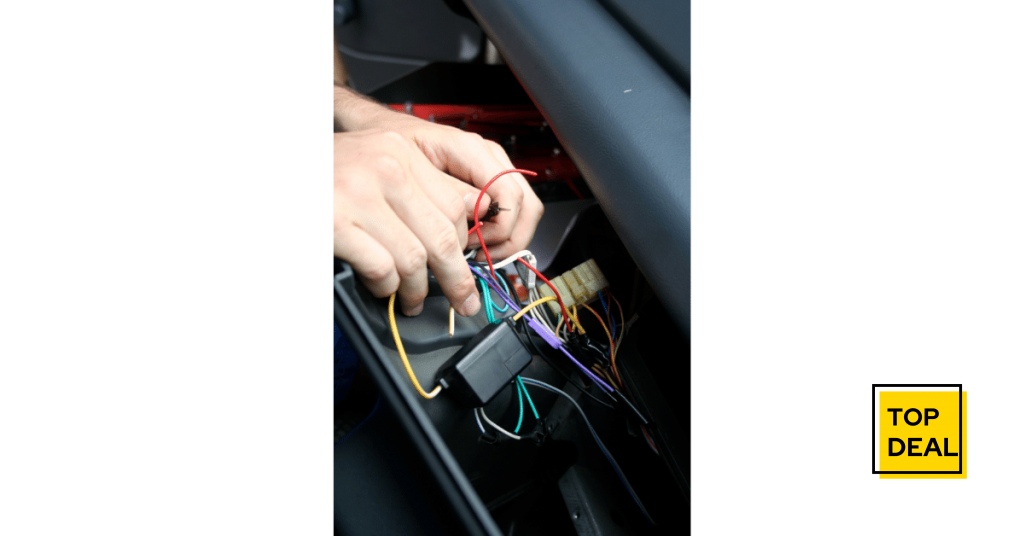
Step 5: Make Connections
Connect the new speaker wire to its corresponding color of cable from your car stereo – if you’re not sure which one that is, consult a wiring diagram for your car’s stereos or look up a guide online. A tip when doing this: try and keep your input wires as far away from the power wires coming from your battery in case something shorts them out and causes a fire. Also, make sure you get the polarity correct so you don’t blow up any speakers. After everything’s connected, zip ties them together neatly so they stay nice and tidy. I went ahead and threw some electrical tape on it for extra insurance but it’s not necessary.
Step 6: Install Your Speakers
Pull your new speaker wire through the gap above the metal trim pieces. Look through it so you don’t accidentally poke a hole in anything with your screwdriver Set your speakers/subwoofer where you want them to go, remembering that there’s no way of moving them afterward unless you also install some sort of mounting arrangement for whatever car model you have to Get creative if necessary – I once installed a subwoofer under my floor mat without drilling any holes because I was on holiday and had no tools! Mark out areas for screws on the door panel using masking tape or scotch tape (anything that comes off easily)
Drill holes into plastic panels using a drill bit just smaller than your screw size; remember to clear out any excess plastic inside the hole. Install screws into these holes, carefully! Remove the tape that you used to mark out where the screws should go onto your door panel. Stick your speaker onto these marks by tapping in with a hammer, taking care not to damage any of your speakers in the process!
Step 7: Reinstall EVERYTHING
Now it’s time to put the door panel back on, but first connect everything up to make sure that you got everything right – if your speakers are blown, there’s no point in putting all of this back together just to find out later. Make adjustments as necessary until you get good sound quality both ways (front and back).
If something went wrong during the installation process, don’t panic; just unplug whatever wire is messed up and start over with a new wire set. Plug your components back in where they came from, secure any loose wires or metal pieces so they aren’t rattling around anywhere, then snap the door panel back on using brute force because most likely by now the clips are broken.
Ensure that you’ve wrapped any exposed wire in electrical tape to prevent it from shorting out against anything metallic and potentially blowing your whole system up! If everything’s working, congrats on a job well done! You can go ahead and zip-tie all of your wires so they don’t get tangled around anything while driving and potentially snap off or cut some other wire. Also, consider using velcro strips to ensure that the slack is always available when needed but won’t be hanging loose anywhere!