How To Change A Car Tire Easily in 8 Simple Steps!
Changing car tires on your car is something everyone should know. It’s a basic skill that can help you get out of some tricky situations and probably save a lot of money as well. If you can change a tire on your car, there is no need to spend money calling for help.
This article will take you through the steps involved in changing a flat car tire without damaging anything else or harming yourself. It’s also advisable that you practice this at least once before you are actually faced with the situation on the road.
Nothing about changing tires is that hard/difficult, but you might be a bit confused if you are doing it for the first time. So try it at least once at home, or even better get some of your more skilled friends to show the process to you!
Table of Contents
How To Change A Car Tire?
Step 1: Inspect what tire needs changing.
Before you change your car tire, take a look at which tire(s) need replacing and why. If the tire has some small puncture, you might be better off just fixing it with a tire repair kit. In some cases, even the repair kits will require you to take off your tire before fixing it. In any case, inspect your tires first and understand what exactly is wrong with the tire before doing anything.
Step 2: Jack up your car.
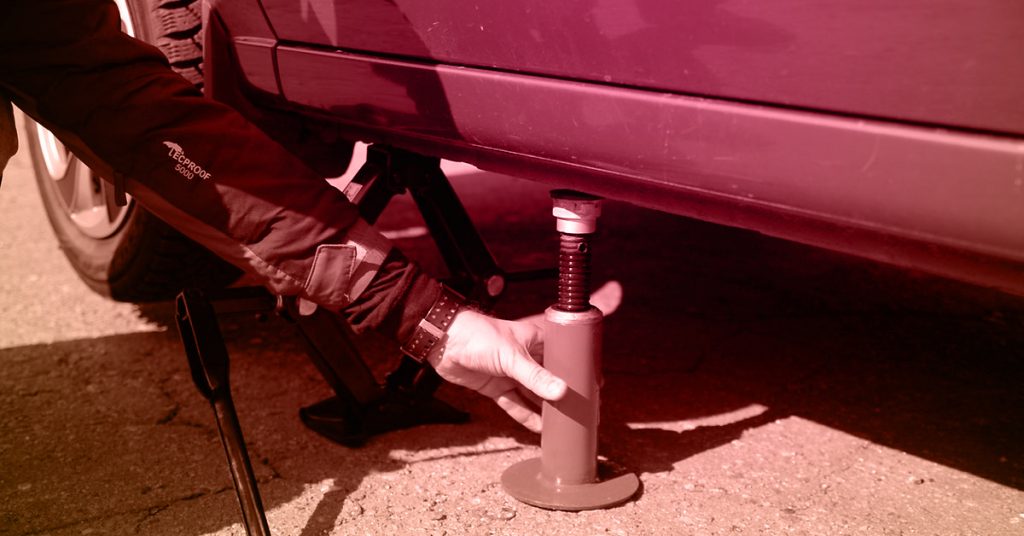
You will need to jack up the wheel of the car in order to replace it with a different one. Use either a hydraulic jack or come jacks (scissor jacks) to lift the wheel off the ground. Follow directions that are provided by car manufacture for how far you should lift each wheel. Make sure the car is parked on a level surface before you try to jack it up!
Step 3: Loosen bolts/nuts that are holding the tire in place.
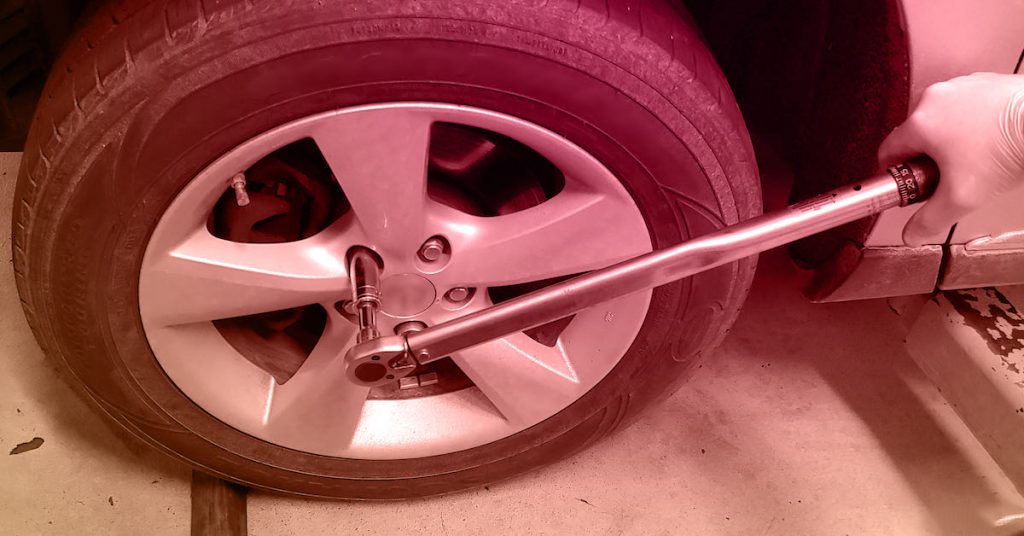
Usually, there are nuts or bolts which hold your tire onto the wheel. This can be anywhere around three or four for each wheel. Use a wrench to loosen these nuts or bolts. You can then lower the wheel back to the ground and pull it out from underneath your car.
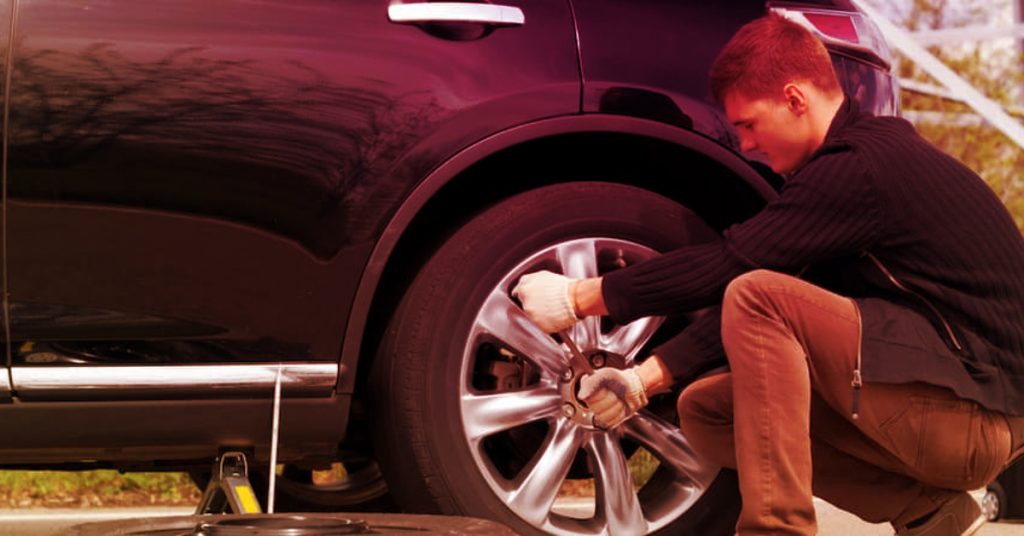
Step 4: Take off the old tire.
Now that you have loosened all nuts/bolts, you should be able to easily take off the car tire by hand after you have lifted up the wheel a bit more. This should be very easy, just remember that car tires are quite heavy and if it falls on your foot by any chance you won’t have a nice time.
Remember to keep the nuts/bolts and all other parts just in case you need them later.
Step 5: Cleanup or inspect your rims.
Before replacing the tire on the wheel, take some time just to clean up your car and give it a wash if needed. Inspect both your wheels very well and see whether they are dented or not. Remove any dents you find immediately as dented rims can be quite dangerous to drive with. If your car has alloy wheels, make sure the tires are not resting on the alloy itself. Just lift up the car tire a little and ensure that only rubber touches the alloy that is holding your tire.
Step 6: Place new tire – Don’t forget the nuts.
Once you are done cleaning up your car, place the new tire on the wheel and make sure it sits evenly in its space. Make sure that the lug nuts fit perfectly in their places and do not damage any other parts of your car when tightening them back up. You might need to use some force to push the car tire into place, but make sure it is not damaging to the rim or anything. If you feel any dents on your rims after putting back everything together, make sure to get rid of them now as they are extremely dangerous when driving long distances.
Step 7: Lower car slowly- tighten bolts/nuts back up again
Once you have placed the new car tire, your wheel, and the nuts/bolts that hold it in place, lower the car carefully. Again make sure nothing harmful falls on your car while you’re doing this. If you had to place a lot of force on your tire while putting it back on, there is a high chance some parts might be misaligned. Make sure you tighten the nuts up again enough to keep everything in place.
Step 8: Put your tools away and be on your way!
At this point, you have successfully changed one of your tires with a new one. Now it’s time to clean up and pack away all tools that you used for this job so they don’t cause any damage to the car. Once everything is packed away, you can now drive safely on your way! Remember that it’s a good idea to take a look at your tires every once in a while for any strange things or damages.
Changing car tires on your car is something everyone should know. It’s a basic skill that can help you get out of some tricky situations and probably save a lot of money as well. If you can change a tire on your car, there is no need to spend money calling for help.
This article will take you through the steps involved in changing a flat car tire without damaging anything else or harming yourself. It’s also advisable that you practice this at least once before you are actually faced with the situation on the road.
Nothing about changing tires is that hard/difficult, but you might be a bit confused if you are doing it for the first time. So try it at least once at home, or even better get some of your more skilled friends to show the process to you!
Table of Contents
How To Change A Car Tire?
Step 1: Inspect what tire needs changing.
Before you change your car tire, take a look at which tire(s) need replacing and why. If the tire has some small puncture, you might be better off just fixing it with a tire repair kit. In some cases, even the repair kits will require you to take off your tire before fixing it. In any case, inspect your tires first and understand what exactly is wrong with the tire before doing anything.
Step 2: Jack up your car.
You will need to jack up the wheel of the car in order to replace it with a different one. Use either a hydraulic jack or come jacks (scissor jacks) to lift the wheel off the ground. Follow directions that are provided by car manufacture for how far you should lift each wheel. Make sure the car is parked on a level surface before you try to jack it up!
Step 3: Loosen bolts/nuts that are holding the tire in place.
Usually, there are nuts or bolts which hold your tire onto the wheel. This can be anywhere around three or four for each wheel. Use a wrench to loosen these nuts or bolts. You can then lower the wheel back to the ground and pull it out from underneath your car.
Step 4: Take off the old tire.
Now that you have loosened all nuts/bolts, you should be able to easily take off the car tire by hand after you have lifted up the wheel a bit more. This should be very easy, just remember that car tires are quite heavy and if it falls on your foot by any chance you won’t have a nice time.
Remember to keep the nuts/bolts and all other parts just in case you need them later.
Step 5: Cleanup or inspect your rims.
Before replacing the tire on the wheel, take some time just to clean up your car and give it a wash if needed. Inspect both your wheels very well and see whether they are dented or not. Remove any dents you find immediately as dented rims can be quite dangerous to drive with. If your car has alloy wheels, make sure the tires are not resting on the alloy itself. Just lift up the car tire a little and ensure that only rubber touches the alloy that is holding your tire.
Step 6: Place new tire – Don’t forget the nuts.
Once you are done cleaning up your car, place the new tire on the wheel and make sure it sits evenly in its space. Make sure that the lug nuts fit perfectly in their places and do not damage any other parts of your car when tightening them back up. You might need to use some force to push the car tire into place, but make sure it is not damaging to the rim or anything. If you feel any dents on your rims after putting back everything together, make sure to get rid of them now as they are extremely dangerous when driving long distances.
Step 7: Lower car slowly- tighten bolts/nuts back up again
Once you have placed the new car tire, your wheel, and the nuts/bolts that hold it in place, lower the car carefully. Again make sure nothing harmful falls on your car while you’re doing this. If you had to place a lot of force on your tire while putting it back on, there is a high chance some parts might be misaligned. Make sure you tighten the nuts up again enough to keep everything in place.
Step 8: Put your tools away and be on your way!
At this point, you have successfully changed one of your tires with a new one. Now it’s time to clean up and pack away all tools that you used for this job so they don’t cause any damage to the car. Once everything is packed away, you can now drive safely on your way! Remember that it’s a good idea to take a look at your tires every once in a while for any strange things or damages.